Technology and AI · 7 min read
Learning anatomy in 3D: layers, sections and quizzes
3D anatomy may help spatial understanding, but its effect on test scores is inconsistent and it does not replace dissection. What the research says and how to study with a model.
- Published
In this article
Your atlas shows the femur from the front and behind. In the lab you are handed the bone and asked: which side is medial, where is the greater trochanter, where do the muscles arise? Many students find it hard to rotate a flat picture in their heads, and researchers see this as one reason why spatial understanding is hard to gain from 2D images in books and online [2]. 3D anatomy, with models you can turn, peel layer by layer and cut on screen, promises to close the gap.
This article covers three things: what research says about 3D models, benefits and limits; in what order to use them (tour → layers → sections → name it yourself → quiz); and how to combine them with the textbook and dissection.
What 3D anatomy does for learning: the evidence
In a 2015 meta-analysis, Yammine and Violato pooled 36 studies (28 randomised; 2,226 participants). Compared with other methods, 3D visualisation improved factual knowledge (effect size d = 0.30) and, more strongly, spatial knowledge (d = 0.50); satisfaction rose too [1]. A d of 0.50 means the group means differ by half a standard deviation. The biggest gain, then, is in questions of what lies in front of, behind or deep to what.
The systematic review by Triepels and colleagues concluded in favour of 3D overall, but the picture is mixed: of 21 articles comparing 3D with 2D, 12 found 3D significantly better and 9 did not. Students prefer 3D, though in one study participants found a complex region disorienting. The authors also note a high risk of bias in several studies [2].
A 2024 meta-analysis (39 randomised trials, 2,959 participants; test scores pooled from 25) found a moderate gain in test scores, but without the studies from China the difference in test scores was no longer significant; satisfaction stayed higher [3].
In short: students like 3D models and they may help with spatial relationships, but a reliable gain in test scores is not proven. The model alone teaches nothing; the result depends on how you use it.
Where the screen falls short
Wainman and colleagues taught pelvic anatomy with either a physical model or a 3D model on screen; students then named structures on a cadaveric pelvis (or on a 2D image of it). Physical-model groups scored 67–74%, screen groups 41–43%. With the non-dominant eye covered during learning and testing, the gap almost vanished: the advantage came mainly from stereoscopic, two-eyed vision [4].
Second, a model shows one body: BodyParts3D, for example, is built on a whole-body model of one adult man [8]. Real people differ in shape and size and have anatomical variants, which you meet in the dissection room and in clinic. Cadaver dissection is still often regarded as the gold standard [2].
Third, 3D invites passive study. Rotating a model feels like work, but in experiments with prose, rereading boosted confidence yet left less in memory 2 days and a week later than recalling did [6]; the same is likely with a model. Use the screen to prepare and review; give lab time to real bones and specimens.
The method: tour, layers, sections, name it, quiz
This order works in any good 3D atlas; each step covers a weakness of the previous one.
- Get the map with a guided tour. Take a short tour of the region: what lies where, and why it matters. This is only preparation: watching is not remembering.
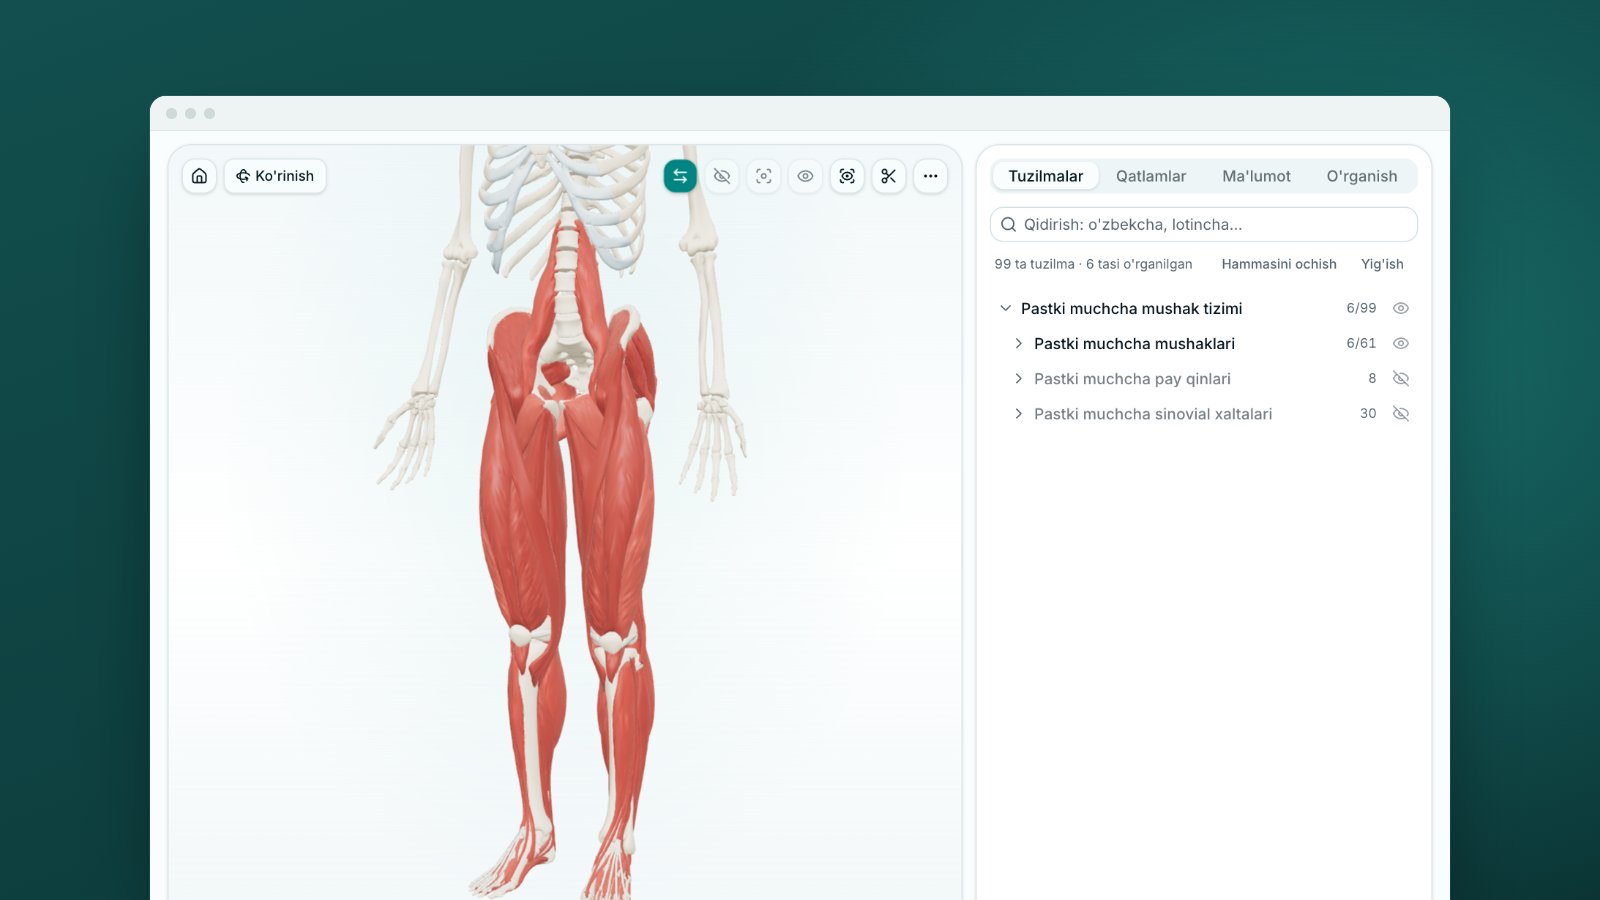
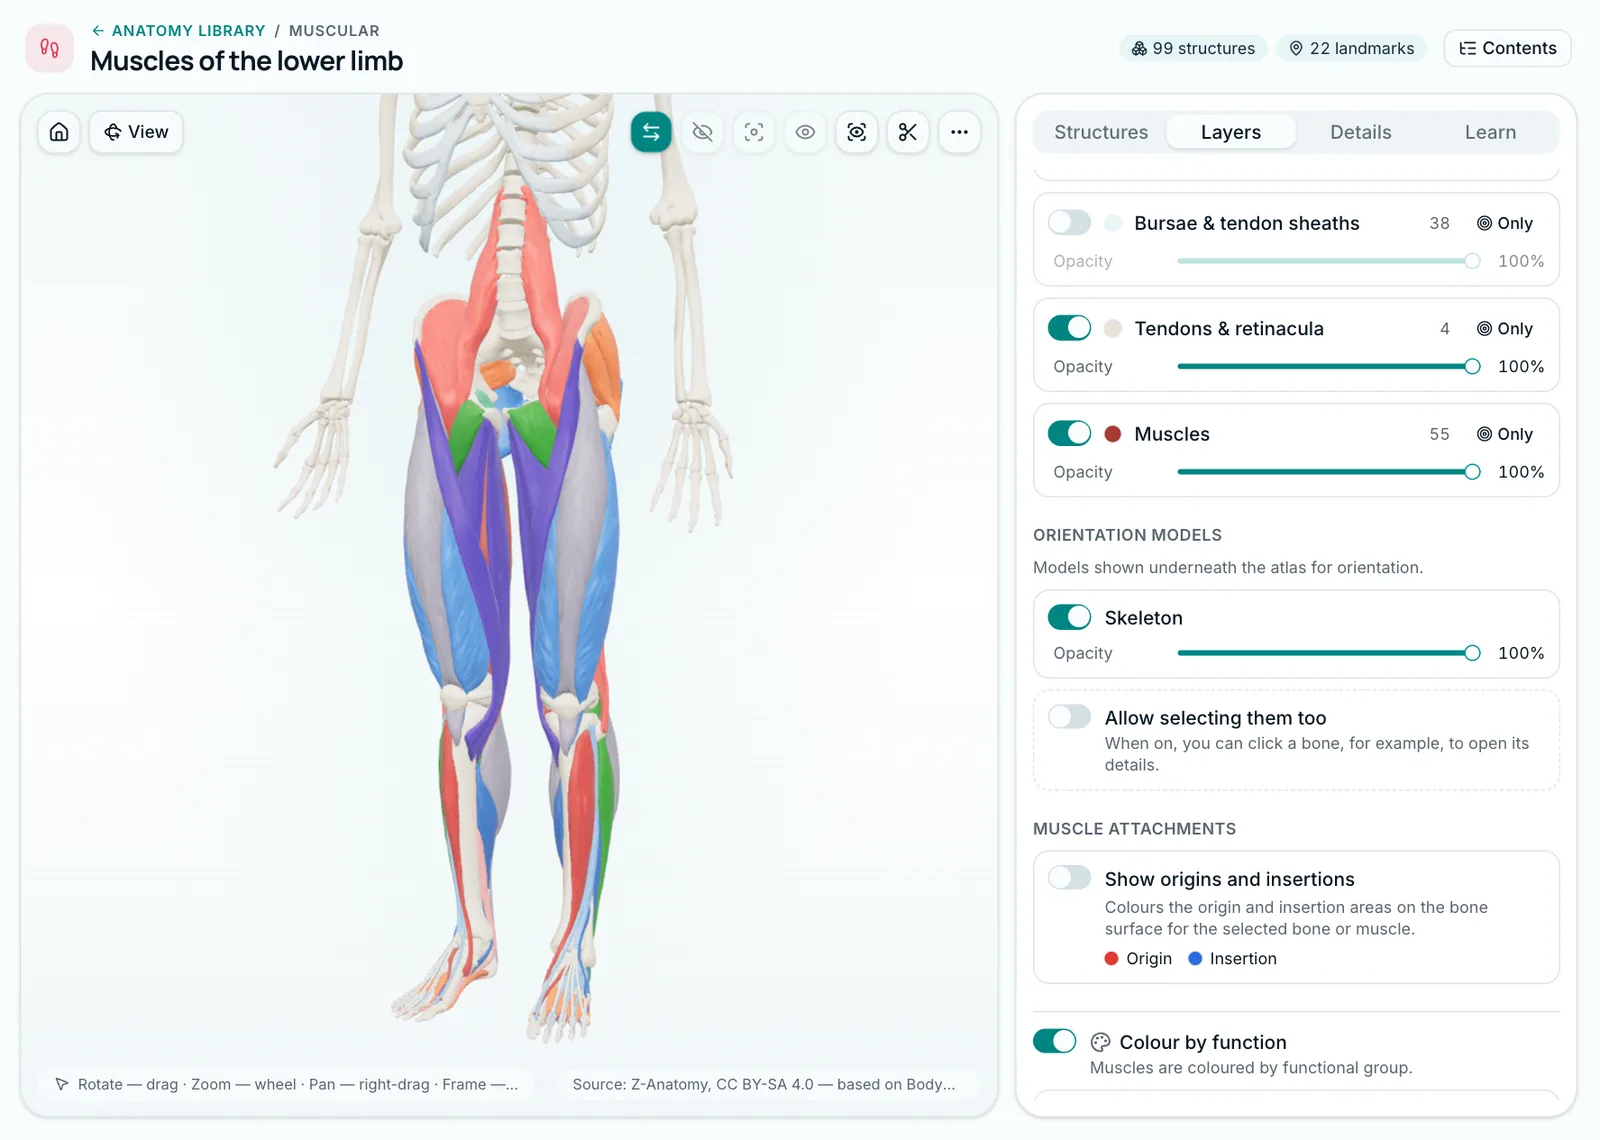
- Build the layers yourself. Start with the skeleton, add muscles, then toggle them one at a time. Lower the opacity and deep structures show through superficial ones. Seeing a muscle's origin and insertion on the bone makes its action easier to work out.
- Cut in three planes. Axial (transverse), sagittal and coronal are the planes of CT and MRI. Move the plane slowly and watch where each structure appears and disappears. On each section ask: what is in front, behind, medial?
- Name it yourself. View the model from several sides, turning it yourself: in one randomised study, students with high spatial ability and those who examined the object themselves from several viewpoints learned spatial anatomy better [5]. Pick a structure by eye, say its name aloud in English and Latin, then check.
- Finish with a quiz and come back. Retrieval strengthens long-term retention more than restudying [6]. Recheck what you missed the next day and a week later; our article on spaced repetition shows how to schedule it.
Worked example: the bony pelvis in 40 minutes
Tomorrow's obstetrics and gynaecology class is on the pelvis, and you want to arrive with a spatial map of it. The free MedIQ skeleton atlas has a matching tour, "The bony pelvis: obstetric and gynaecological landmarks" (9 steps). A 40-minute plan:
| Minutes | What you do | What you look for |
|---|---|---|
| 0–10 | Take the whole tour | Hip bone, sacrum, coccyx, femoral head; female and male pelvis compared |
| 10–20 | Superior and Inferior views, Show landmarks on | Promontory, linea terminalis, ischial spine and tuberosity, obturator foramen |
| 20–25 | Sagittal section | Curve of the sacrum, sacral canal, pubic symphysis |
| 25–35 | Landmarks off: point and name, then switch on to check | Spina ischiadica, Tuber ischiadicum, Promontorium |
| 35–40 | Quiz in Name it mode | Score and the Worth reviewing list |
On a computer a name appears on hover, so say it before the cursor arrives. Name it offers four options: say the name before you read them, so that you recall it rather than recognise it. After a wrong answer, the quiz shows the correct one straight away.
Next day, use Find it mode: you get the name and find the structure. The quiz draws 10 random questions from the whole skeleton's major structures, so pelvic bones will not always come up; minutes 25–35 cover the pelvis.
Note that the skeleton atlas is built on a male skeleton, so the inlet shape, subpubic angle and sacral curve you see are male. Learn the female features from the tour's last step and from a real female pelvis in the department.
How to combine 3D with the textbook and the dissection room
Estai and Bunt's review of anatomy teaching concluded that no single tool meets curriculum needs; complementary methods combined work best [7]. The textbook gives terms, classifications and clinical links in order; the model shows where everything sits. A week on one topic could look like this:
- Before the class (20–30 minutes): a 3D tour and layers for the overall map.
- In the department: bones, prosections, the cadaver. Notice what the model lacks: variants and true size.
- After the class: details from your textbook, then a self-test in 3D.
- Before the exam: keep testing yourself on your list of misses [6].
How to practise this on MedIQ
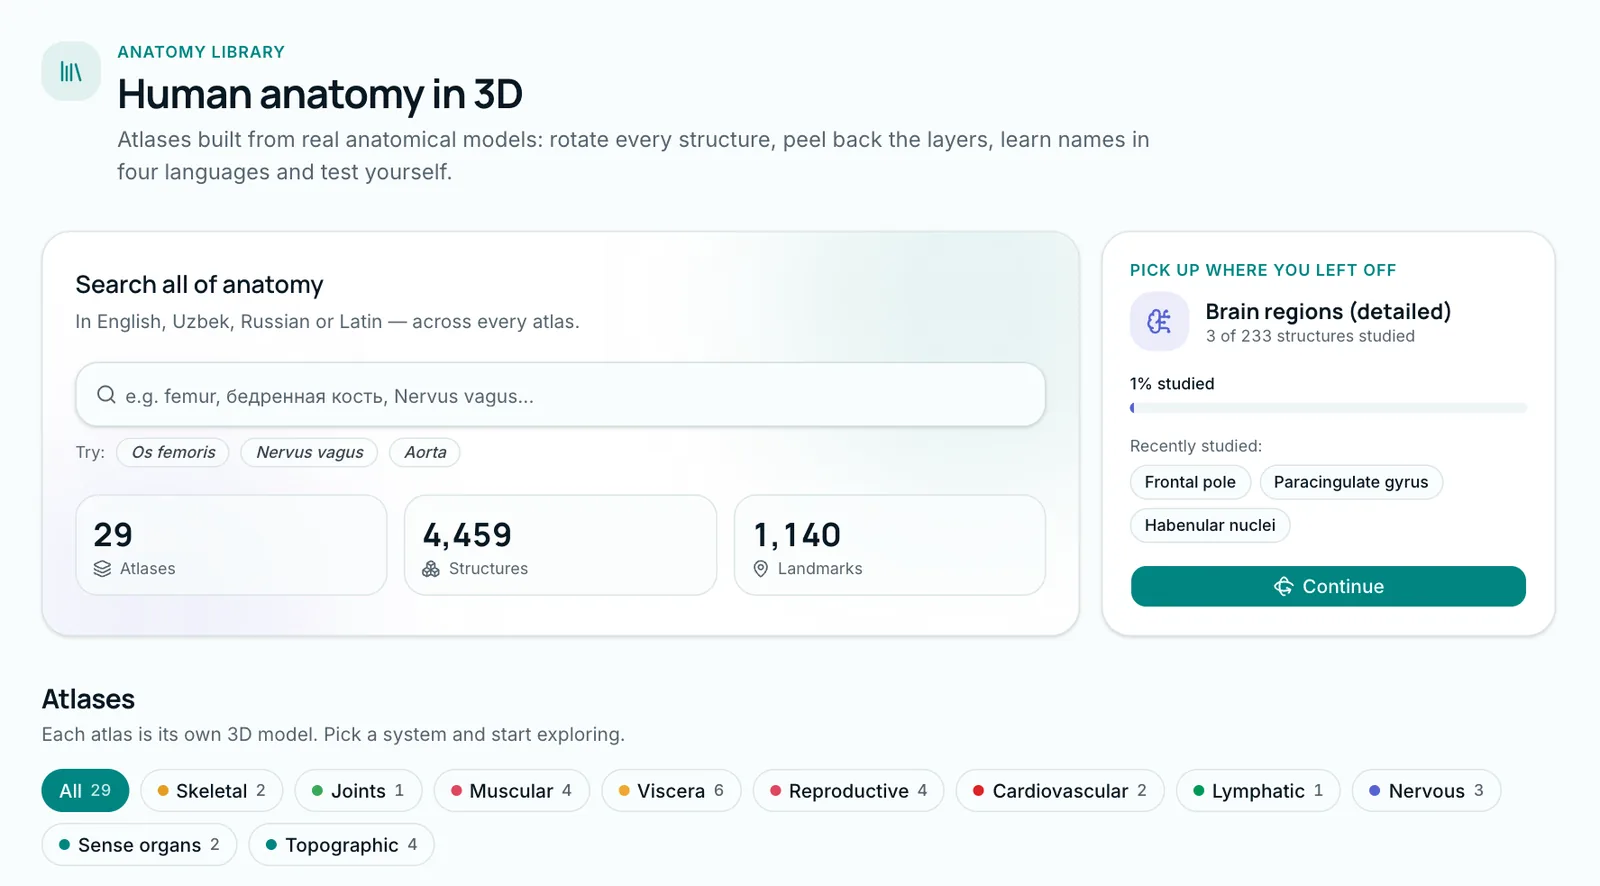
The MedIQ anatomy library has more than twenty 3D atlases. Almost all of the more than 2,200 structures in the library atlases (all but the whole-body atlas) are named in Uzbek, Russian, Latin and English. Most models come from open scientific sources, BodyParts3D among them [8], adapted for MedIQ. The five steps map onto the atlas:
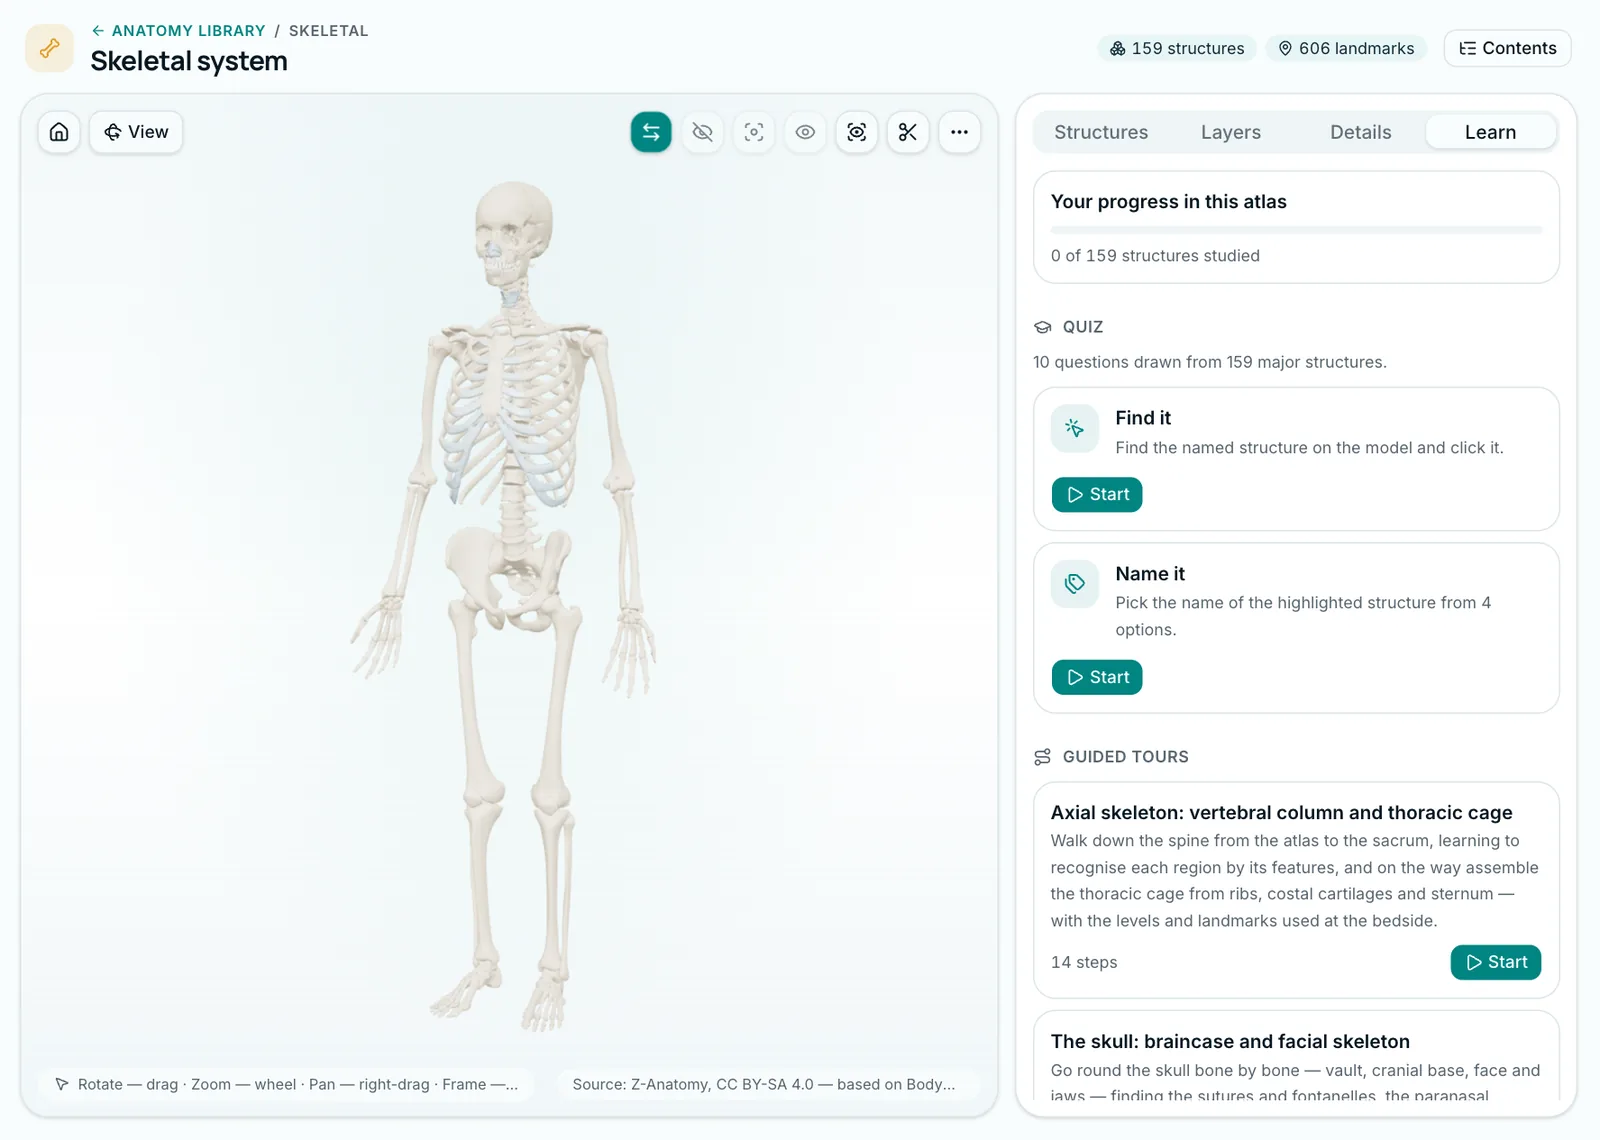
- Learn tab: 90 guided tours across 19 atlases, and the Quiz: 10 questions in two modes, Find it and Name it.
- Layers tab: a switch per layer, Opacity, and in the muscle atlases Show origins and insertions and Colour by function.
- Toolbar: Section (axial, sagittal, coronal), X-ray mode, Show only the selection.
- Structures tab: search and a structure tree in the order of the classic textbooks (Sapin, Prives and Bahodirov's Uzbek Odam anatomiyasi) and Terminologia Anatomica 2.
- Details tab: names, summary, key facts, clinical relevance.
Opened structures are marked Studied; progress shows on the Learn tab. The skeleton atlas is free in full, tours and quizzes included. Other atlases are part of PRO, but every atlas's Contents page and structure pages are open on a free account too. More on the features page.
Sources
- 1.Yammine K, Violato C. A meta-analysis of the educational effectiveness of three-dimensional visualization technologies in teaching anatomy. Anat Sci Educ. 2015;8(6):525–538. doi.org/10.1002/ase.1510
- 2.Triepels CPR, Smeets CFA, Notten KJB, Kruitwagen RFPM, Futterer JJ, Vergeldt TFM, et al. Does three-dimensional anatomy improve student understanding? Clin Anat. 2020;33(1):25–33. doi.org/10.1002/ca.23405
- 3.Wang J, Li W, Dun A, Zhong N, Ye Z. 3D visualization technology for learning human anatomy among medical students and residents: a meta- and regression analysis. BMC Med Educ. 2024;24(1):461. doi.org/10.1186/s12909-024-05403-4
- 4.Wainman B, Wolak L, Pukas G, Zheng E, Norman GR. The superiority of three-dimensional physical models to two-dimensional computer presentations in anatomy learning. Med Educ. 2018;52(11):1138–1146. doi.org/10.1111/medu.13683
- 5.Garg AX, Norman G, Sperotable L. How medical students learn spatial anatomy. Lancet. 2001;357(9253):363–364. doi.org/10.1016/S0140-6736(00)03649-7
- 6.Roediger HL, Karpicke JD. Test-enhanced learning: taking memory tests improves long-term retention. Psychol Sci. 2006;17(3):249–255. doi.org/10.1111/j.1467-9280.2006.01693.x
- 7.Estai M, Bunt S. Best teaching practices in anatomy education: a critical review. Ann Anat. 2016;208:151–157. doi.org/10.1016/j.aanat.2016.02.010
- 8.Mitsuhashi N, Fujieda K, Tamura T, Kawamoto S, Takagi T, Okubo K. BodyParts3D: 3D structure database for anatomical concepts. Nucleic Acids Res. 2009;37(Database issue):D782–D785. doi.org/10.1093/nar/gkn613
Tags
- 3D anatomy
- anatomy atlas
- study techniques
- testing effect
- medical education
About the author
MedIQ Editorial
Editorial team for medical education
MedIQ Editorial is the team of clinicians and medical-education specialists who prepare the platform's learning content. Articles are based on current clinical guidelines (WHO, FIGO, ACOG, RCOG, NICE, ESHRE) and peer-reviewed research; sources are listed at the end of every article.